The Comprehensive Guide To Install Hard Drive In A CCTV Camera
Just when you thought you had your CCTV camera all set up, you realize that there’s no hard drive included. Fear not, intrepid user! This step-by-step guide to Install Hard Drive Of A CCTV Camera will take you through the whole process, from start to finish. So sit back and relax – with this guide, you’ll have your camera up and running in no time!
What You Will Need
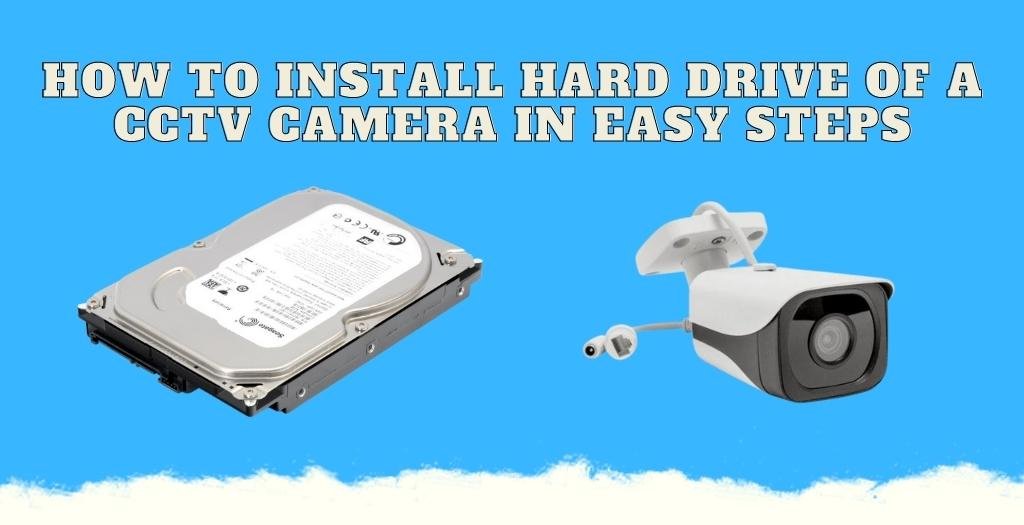
1. Hard Drive: The first thing that you need for this project is a hard drive. Any type of standard computer hard drive will work for this project.
2. CCTV Camera: The second thing that you need is a CCTV camera. Any type of standard CCTV camera will work for this project.
3. Screwdriver: The third thing that you need is a screwdriver. Any type of standard screwdriver will work for this project
4. Power supply: The fourth thing that you need is a power supply. Any type of standard power supply will work for this project
5. BNC Connectors: The fifth thing that you need for this project is a set of BNC connectors.
6. Coaxial Cable: The sixth and final thing that you need for this project is the suitable coaxial cable for your CCTV camera installation.
How To Remove the Old Hard Drive From a CCTV Camera
1. The first thing that you need to do is power off the CCTV camera and unplug it from the power supply.
2. Next, you will need to remove the screw that is holding the cover plate in place. After the screw has been removed, you can simply pull the cover plate off of the camera.
3. With the cover plate removed, you will now have access to the camera’s internal components. Locate the hard drive bay and remove the screws that are holding it in place.
4. Once the screws have been removed, you can pull the hard drive bay out of the camera.
5. Take the old hard drive out of the CCTV camera and dispose of it properly.
6. The next step is to install the new hard drive into the CCTV camera. Please follow the instructions in the “Installing The Hard Drive” section of this article.
The Step By Step Guide To Install Hard Drive Of A CCTV Camera
1. The first step is to power off the CCTV camera and unplugs it from the power supply.
2. Next, you will need to remove the screw that is holding the cover plate in place. After the screw has been removed, you can simply pull the cover plate off of the camera.
3. With the cover plate removed, you will now have access to the camera’s internal components. Locate the hard drive bay and remove the screws that are holding it in place.
4. Once the screws have been removed, you can pull the hard drive bay out of the camera.
5. Take the hard drive that you will be using for this project and insert it into the hard drive bay. Make sure that the hard drive is properly seated and secured in the bay.
6. Once the hard drive installation is complete, you can now replace the cover plate and screw it back into place.
7. The next step is to connect the power supply to the CCTV camera.
8. Once the power supply receives the connection, you can now plug the CCTV camera into an electrical outlet and turn it on.
9. The final step is to connect the coaxial cable to the BNC connectors. Once the cable gets the connection, you will need to run it from the camera to the TV or DVR that you will be using to view the camera’s footage.
Your hard drive is now installed and you are ready to start recording footage from your CCTV camera.
Formatting the New Hard Drive
1. The first thing that you need to do is connect the CCTV camera to the TV or DVR that you will be using to view the camera’s footage.
2. Once the camera gets the connection, you will need to power it on and wait for it to boot up.
3. Once the camera is up and running, you will need to access the menu. You can usually gain access by pressing the “Menu” button on the camera or on the remote control.
4. Once you have accessed the menu, you will need to navigate to the “Setup” or “Configuration” section.
5. In the “Setup” or “Configuration” section, you will need to locate the “Format” option.
6. Once you have located the “Format” option, you will need to select it and follow the on-screen instructions to format the new hard drive.
After the hard drive has been formatted, you are now ready to start recording footage from your CCTV camera.
Final Steps
So there you have it. Your very own step-by-step guide to installing a hard drive in your CCTV camera. This is something that is bound to come in handy, especially if you’re the DIY type or like saving money on installation fees. Stay with our blogs at CCTV Price BD to learn more about CCTV cameras and all of their inner workings – we’ve got plenty of content for you to sink your teeth into!
FAQ (Frequently Asked Questions)
Yes, you can install a hard drive in your CCTV camera yourself. However, we recommend that you hire a professional to do it for you.
The time it takes to install a hard drive in a CCTV camera varies depending on the make and model of the camera. However, it should only take a few minutes to complete the installation.
Yes, you will need to format the hard drive before you can start recording footage. Please follow the instructions in the “Formatting The New Hard Drive” section of this article.
No, you cannot use just any type of hard drive in your CCTV camera. The hard drive must be specifically designed for CCTV cameras.
The amount of footage that you can store on the hard drive depends on the capacity of the hard drive and the quality of the footage. For example, a 500GB hard drive can store approximately 40 hours of footage if the footage is recorded at 720p quality.